Stefanie Warmerdam made this tutorial for a beautiful bracelet with leather and cord. While making it, she took photos of every step so that others can make it too. Thank you, Stefanie!
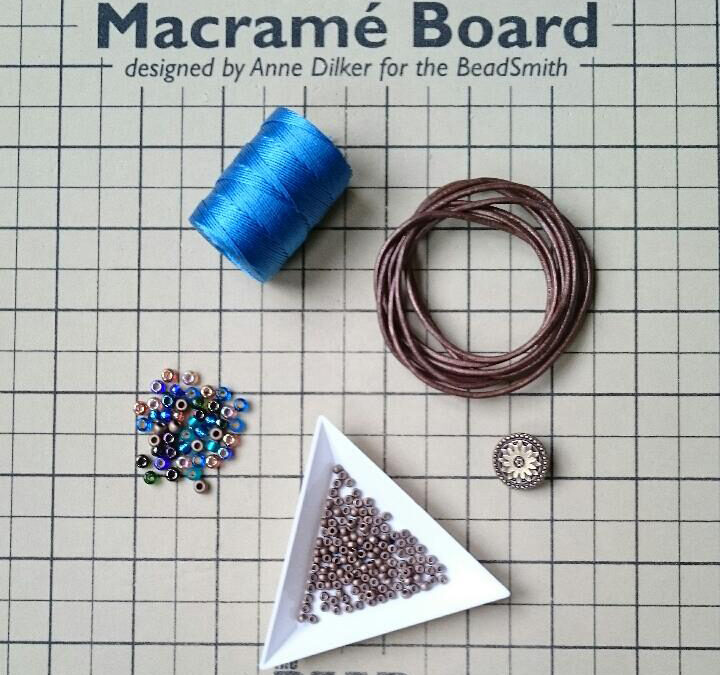
For this bracelet you need the following: c-lon cord 0.5 mm, a button, a piece of 2mm round leather of approximately 1.5 meters and seed beads of, for example, size 8/0 and 6/0. And to make this easy to tie, use a foam macramé board.
You start by cutting a short piece of cord to which you can attach your button. This way you attach it to the board so you can start tying. Below you can see how you can do that.
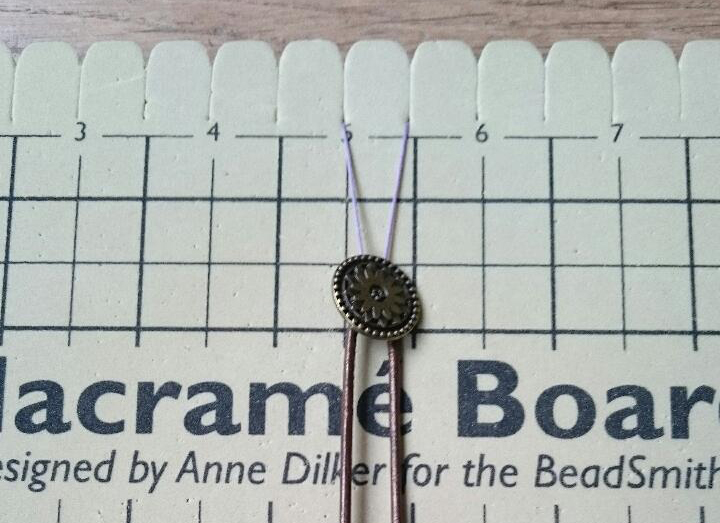
You start by first tying a nice tight start, which keeps the button well in place. For the starting piece you use the square knot. You can find detailed explanations about this on Kralen.com.
You first tie right over left, then left over right and you always alternate. Pull the cord tight (but not too tight), so that it lies nice and close to the leather. And you can make this piece as long as you want.

For the next part you also use the square knot, but now you add a bead each time. The easiest thing to do is to string some more beads onto your cord. You can then slide one bead up per knot and secure it. Size 8/0 beads were used in this example.
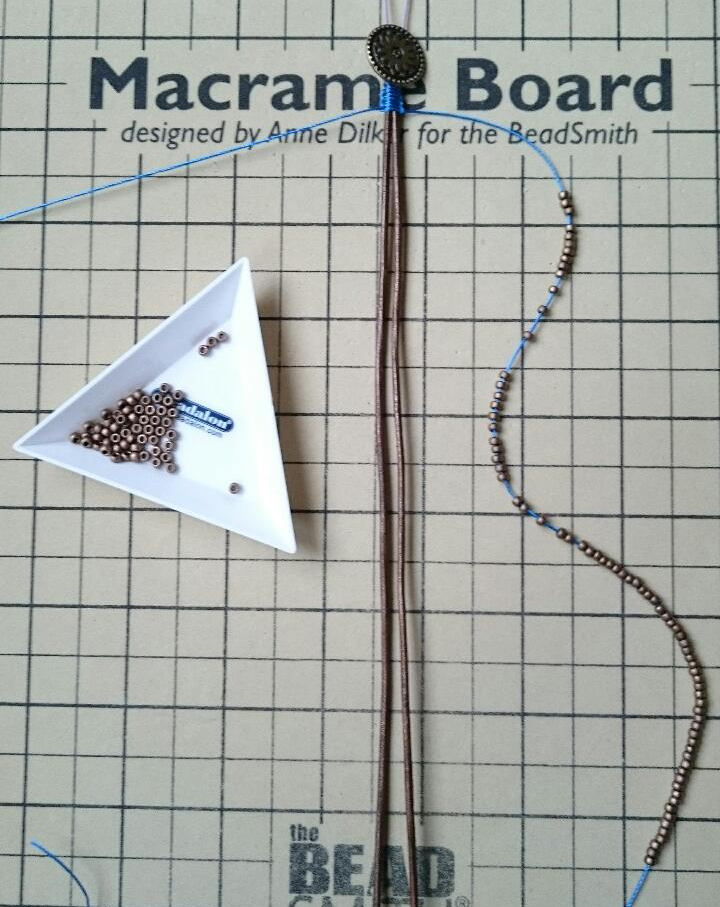
So you first thread a bead on the right thread and make a square knot, and then on the left thread and make a square knot. This way the beads fall in a nice zigzag. You can also do this on both sides at the same time, then the beads will lie next to each other on the right, whatever you like.
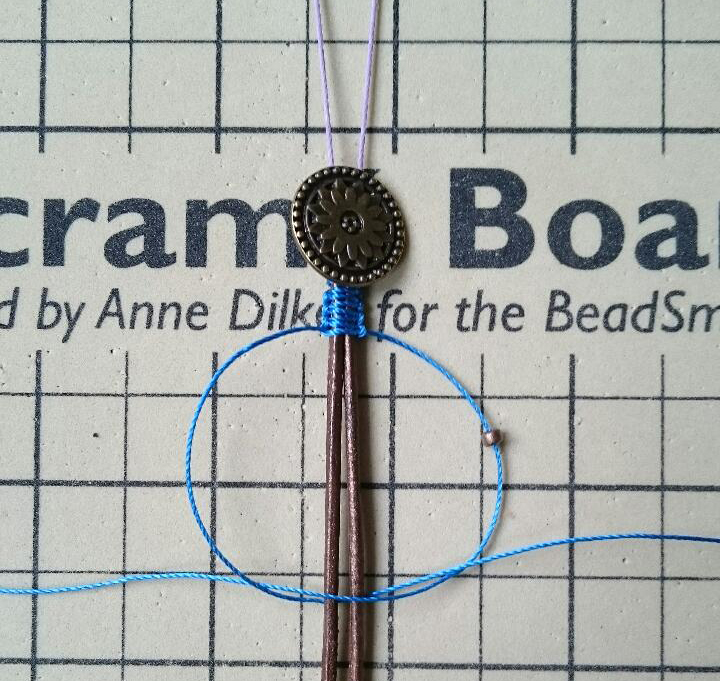
You can decide how many beads you want to do depending on how long you want the piece to be. If you want it to be longer, you can always add more later by stringing more beads onto the cord.
For the next part with beads in the middle; First thread both cords under the leather. Then you thread each into one side of the bead. Place the threads now above the leather cords. Repeat the same steps, but now exactly the other way around.
It is best to use 6/0 seed beads for this, because they are a little larger and also have a larger hole which makes it easier to thread the 2 cords through.
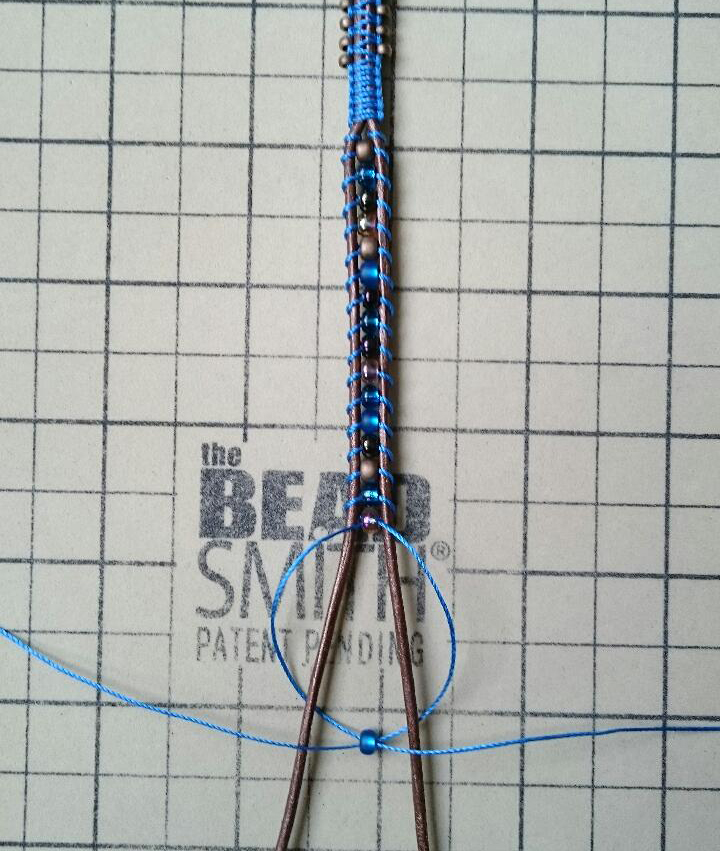
Repeat this for as long as you like. At last, make another part the same as the first part. This way you end the bracelet exactly as you just started.
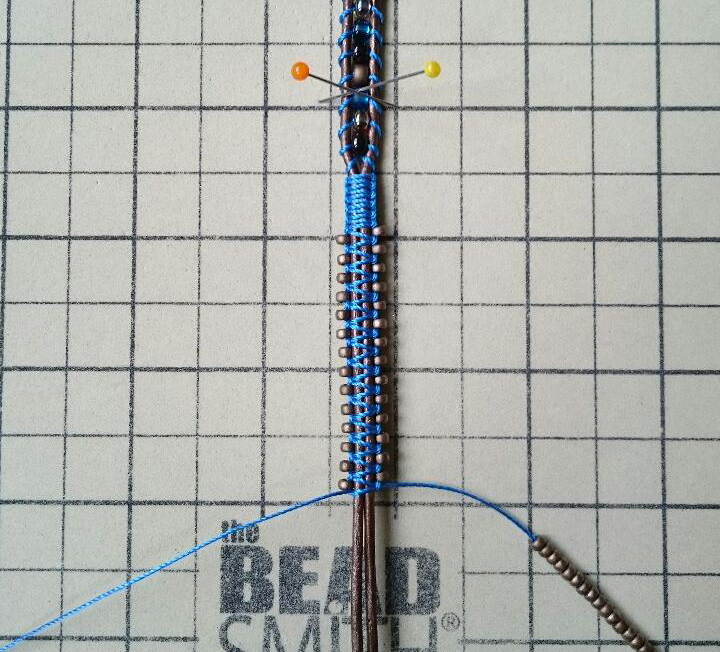
Then you end back the way you started. You continue with the square knot, first with beads and at the end without beads. Make a knot on the leather to create a loop that fits nicely over the knot.
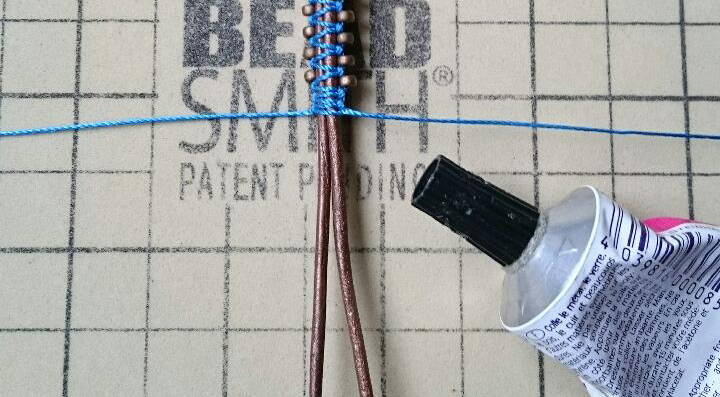
Pull the knot tight and cut off the last piece. Add some glue to secure the knot or melt it carefully with a lighter or Thread Zap.
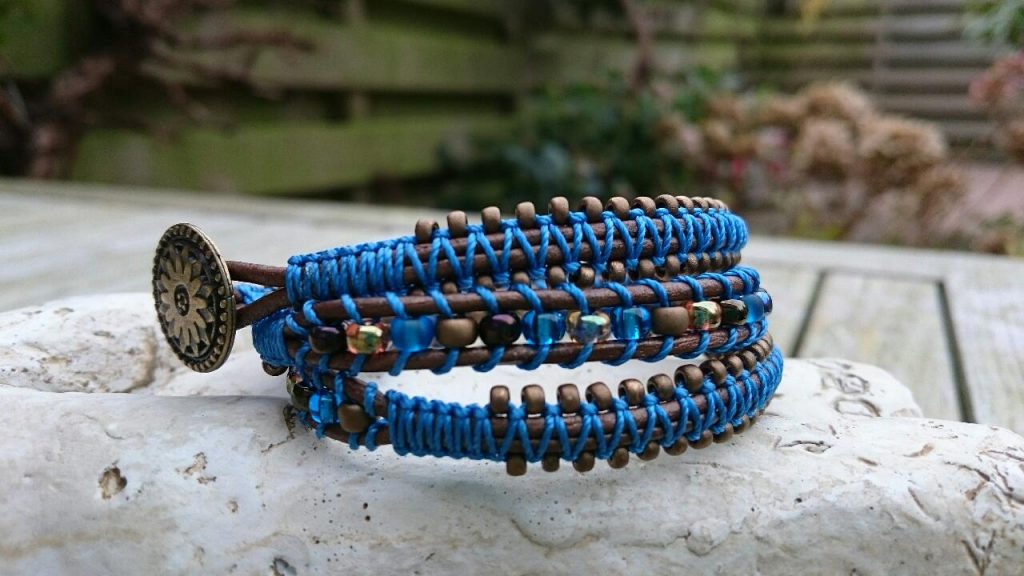
Below you can see the result of a beautiful macramé bracelet! Stefanie, thanks again for sharing your photos.
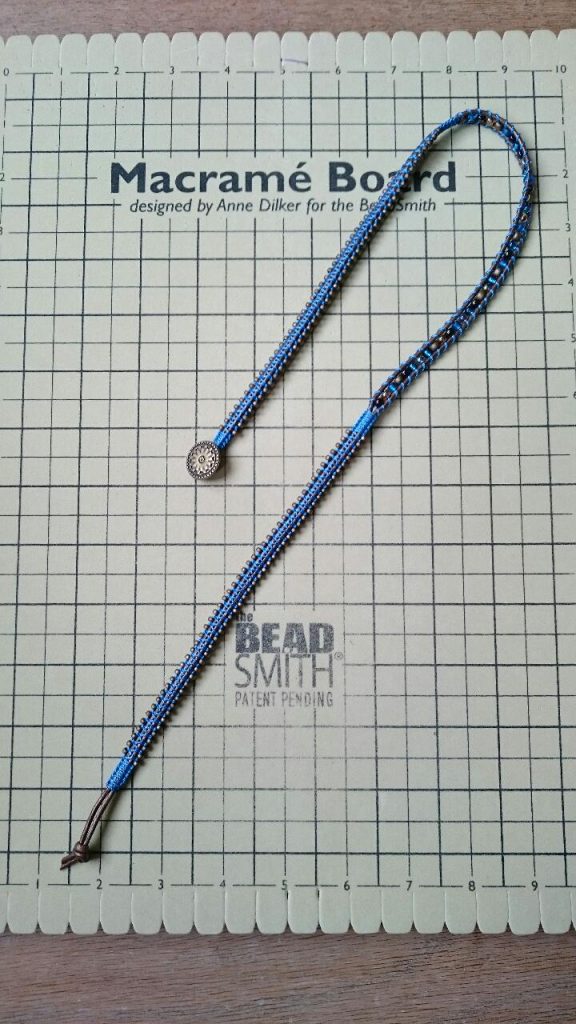

I make my bracelets on the end too put it together it lost on my hand what and I do keep it on my hand