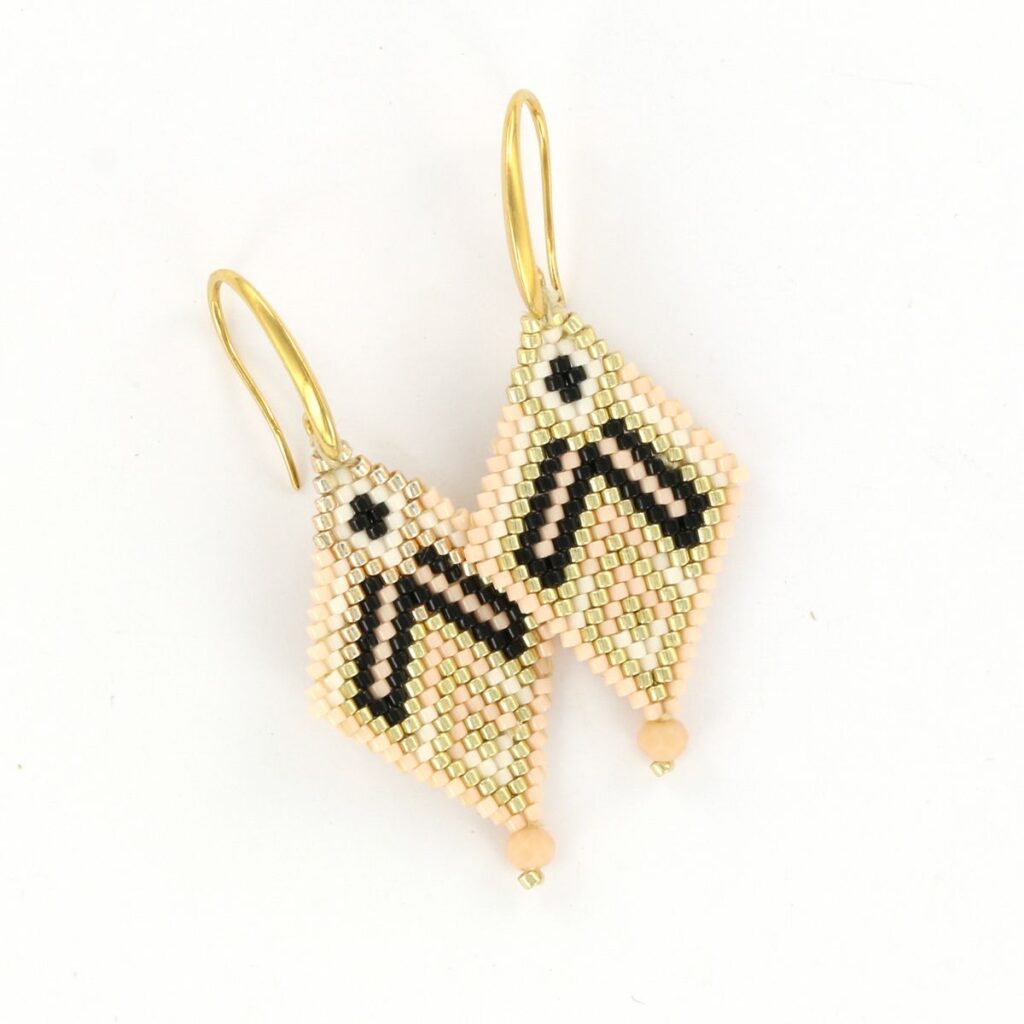
With the brick stitch technique you stack the beads on the top of each other by threading under the thread of the previous row. With this tutorial you will know how to increase and decrease the rows of beads. This tutorial also shows you how to add a point and how to end the thread.

STEP 1) Start stringing the ladder stitch technique, as shown here above.
String 2 beads onto the thread. Insert the needle in the same direction through bead 1 and bead 2 again. Next, string 1 bead onto the thread. Insert the needle through bead 2 and then back through bead 3.

ADDING BEADS – INCREASING:
STEP 2) In this step you will start on the second row, which will be on top of the first row. Your thread exits bead 3. Pick up 2 beads (bead 4 and 5). Now you are not going to thread in a bead, but you are only going to pass under the previous ‘loop’ of thread between bead 2 and bead 3, as shown here below. Next, thread back, in upward direction, through bead 5. Repeat this for bead 6: go under the previous thread between bead 1 and bead 2 and go through bead 6.

STEP 3) To add bead 7 (the last bead of the row) you pick up the bead and go under the same ‘loop’ of thread of bead 1 and bead 2. Next, thread back, in upward direction, through bead 7. On both sides this row is one half bead wider than the previous row.

DECREASING – USE LESS BEADS:
STEP 4) In this example another increased row is added (beads 8 to 12) by reapeating steps 2 and 3.
Now we will show you how to decrease your row of beads.
Pick up 2 beads and now string under the 2nd ‘loop’ of thread of the previous row, then string
back upwards through bead 14.

STEP 5) Stop after you have strung a bead in the last ‘loop’ of thread form the previous row (bead 16). On both sides this row is one half bead smaller than the previous row.
To sum up; you always start your new row with 2 beads, both for increasing and decreasing and then continue with 1 bead.

CREATE A POINT AND FASTEN YOUR THREAD:
STEP 6) With brick stitch you cannot end up with only one bead upright, because then you cannot thread back. The bead will lie tilted on top of the other beads.
When your figure is finished, you can secure your thread by beading it back into the work. If you change directions 3 or 4 times, you don’t need a knot to secure the wire properly, But make sure you will only go in diagonal directions or directly to the next bead that is next to it so that your thread will not be visible. Cut the thread and you’re finished.
TIPS, TRICKS AN VARIATION:
- A diamond shape is perfect to get to know this technique. Later you can choose for uneven shapes, which are more challenging.
- Delica beads give the most beautiful result; their cylindrical shape creates a smooth and even surface. But you can certainly also use seed beads for a more casual look.
- Don’t pull your thread too tight, as this can make your work uneven.
- Once you’ve mastered the technique, you can also create other, more challenging shapes using the brick stitch technique.
- A short, stiff needle works best. This is because you always thread just between the beads and under the thread. A longer needle makes it harder to find the right spot.
- You can thread a jump ring through the last “crooked” bead to attach your clasp or C-lon cord to make a sliding knot.
- You can use different types of beads. We recommend using the same beads in each row to keep your rows straight and even.
- You can brick stitch on/around shapes such as a ring, drop, triangle or square or hang a fringe on your brick stitch.


