Welcome to MiyukiBeading!
With this platform we would like to share inspiration, tutorials and useful information about Miyuki Beading. We are Sandra and Carine and beads – especially Miyuki – are a big part of our lives for already a long time. We would love to share this passion with fellow beaders, and are always curious about every new creation or development.
On our pages you can find a very useful overview of all the Miyuki colours and colourtypes, together with several possibilities of how to use them. It gives you plenty of information and inspiration in our blogs and in the gallery you can find a unique option to upload your creation, together with the used colournumbers of Miyuki. This way you can share your designs with the world, but also find ideas for colour combination when you need them.
It is not only very helpful for starting beaders, but also for the experienced ones and professional bead artists. You can upload every creation you make, adding your own name and website, to share with every-one. This way we can connect the different beaders around the world in every part of their expertiece and interest.
In the near future we will add several basic techniques, new blogs and share more inspiration. If you have any questions or want to share your tips, we would be very happy to hear them from you. Please find our contact information here.
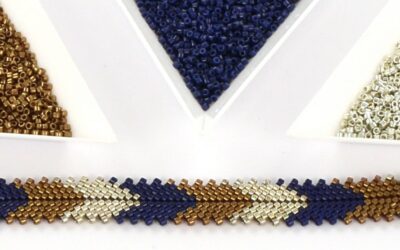
Herringbone peyote bracelet
A super cute bracelet made with a variation of the peyote stitch. Even if you have no experience with peyote, this is a great bracelet to try out. The ideal shackle for this variant are press studs, which ensure a perfect fit. https://youtube.com/watch?v=IldqT9Y2nf0...
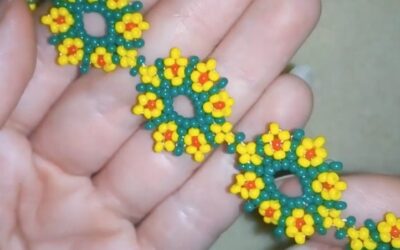
Video tutorials for inspiration – Flowers
We have collected a few tutorials as inspiration to make cute jewelry! These are nice, lovely bracelets from Beadiful Nights that are easy to make and are also fun to give away. The seed beads are combined with super duos, of which you don't need a lot, so you can use...
How to get your thread in the needle in 1 go
Sometimes I have the tendency to take an extra long thread so that it can last me a while, because it is often a bit difficult to get the thread into the needle. It can be especially difficult in the evening with less light and sleepy eyes. 😉 Keep reading on for tips...
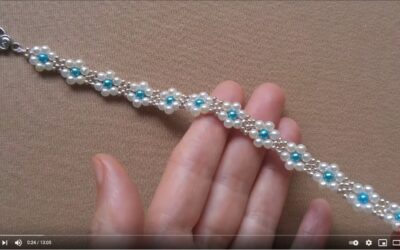
Video tutorials – Summer bracelets
When spring is almost here, we of course want to make new bracelets to complete our new summer outfits. In this blog we share 6 videos with nice bracelets that are quickly made. https://www.youtube.com/watch?v=LjESWHxMkiE A knotted bracelet with a drawstring, where...
Brick Stitch
With the brick stitch technique you stack the beads on the top of each other by threading under the thread of the previous row. With this tutorial you will know how to increase and decrease the rows of beads. This tutorial also shows you how to add a point and how to...
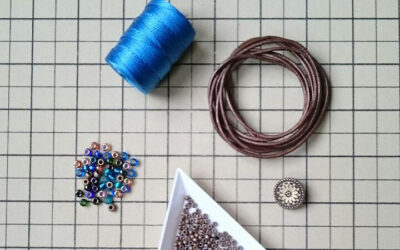
Tutorial macramé with leather
Stefanie Warmerdam made this tutorial for a beautiful bracelet with leather and cord. While making it, she took photos of every step so that others can make it too. Thank you, Stefanie! For this bracelet you need the following: c-lon cord 0.5 mm, a button, a piece of...
Inspiration for Miyuki seed beads rainbow earrings
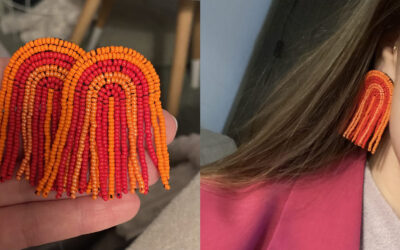
These cheerful rainbow earrings are made on a piece of beading foundation with Miyuki seed beads 11/0. To do this, cut 2 half circles from the beading foundation, approximately 3.5 cm wide and 2.5 cm high. Smaller or larger is also possible, depending on your...
Upcycling idea from Denise!
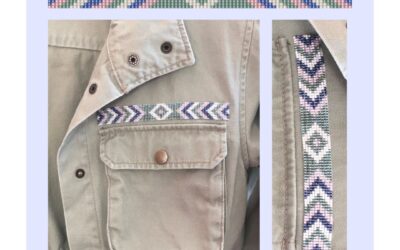
An original idea for your next looming project! We received this nice photo from Denise where she sewed a piece of woven beads onto a jacket, to give it an extra touch 🤩 The beads are woven into a nice pattern using a loom (beading loom). This can be done with both...
Tips and tricks from Tamira about large images made with weaving
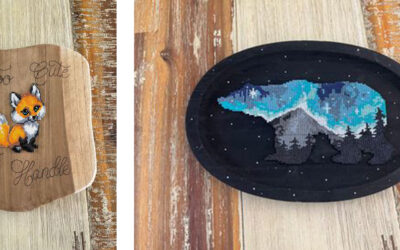
Tamira showed us her creations and we wanted to share them with you. She has made 2 beautiful creations with the Miyuki loom, which are shown here below. She explains about how she came up with the idea, how she made it, what she encountered and how she solved it...
Ladder stitch / Square stitch
LADDER STITCHSTEP 1a) We start by stringing 2 beads onto the thread. Insert the needle in the same direction through bead 1 and bead 2 again. If you tighten the thread now, the beads will lie on top of each other.Tip: Use a long thread because the thread will go...
© Miyukibeading. All rights reserved.

