
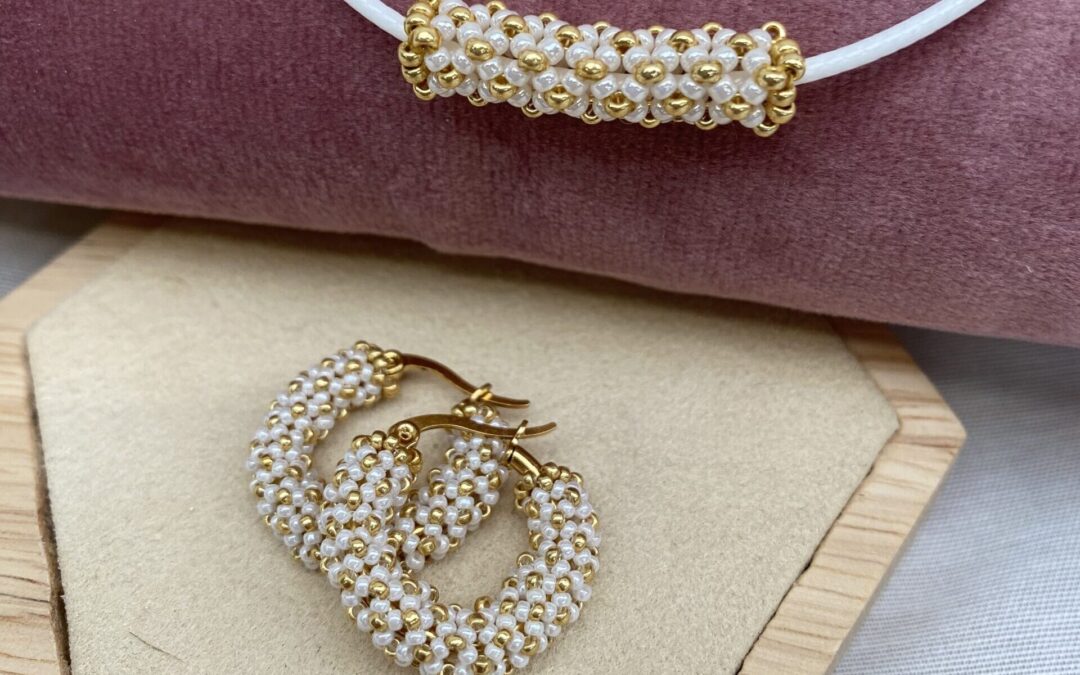
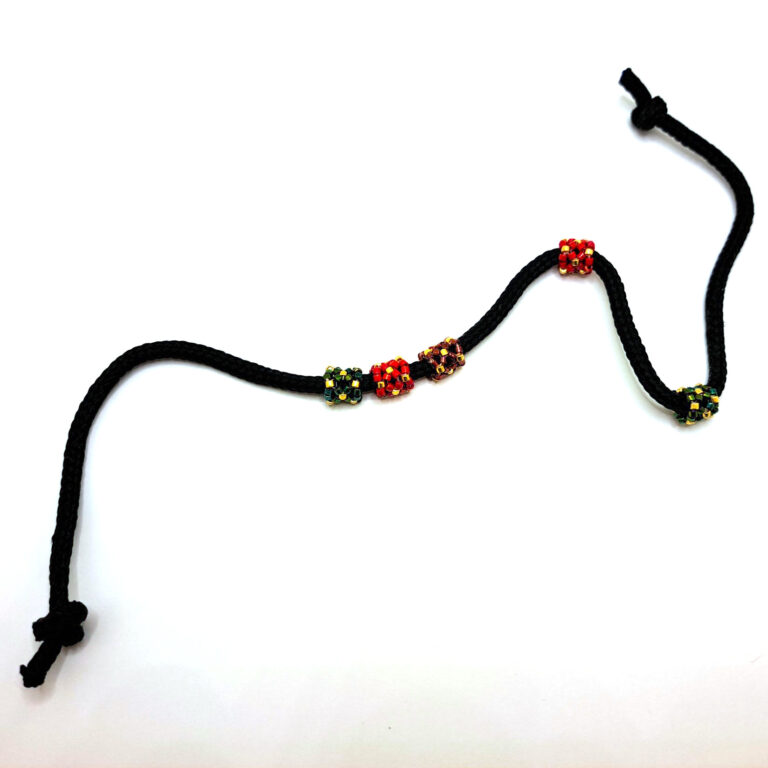
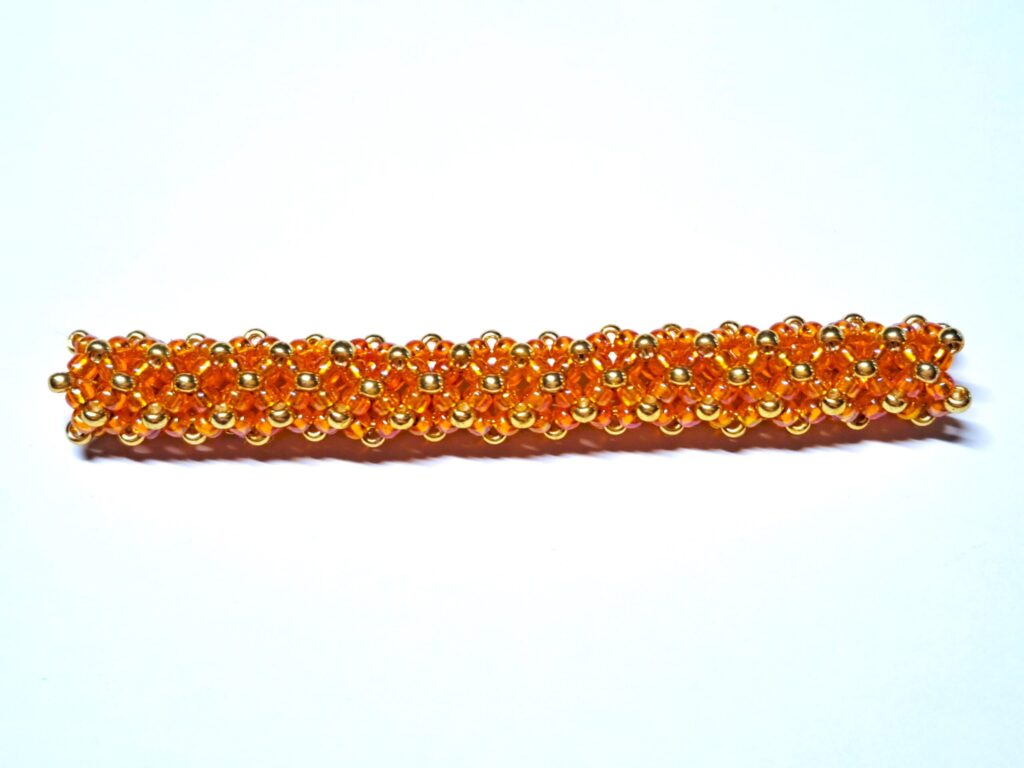
Kitty made these beautiful creations that she made with the Chenille stitch (tubular) and was kind enough to explain the steps for this technique together with clear pictures. The Chenille stitch is available as a flat stitch, but you can also make it round (tubular) and you can use both Delicas and Rocailles for this. It is also an ideal way to use up your leftover beads, because with just a few beads you quickly have a beautiful piece of jewelry!
How it works:
In this example, 1 main color (red) and 1 supporting color (green) are used. We make a tube of 6 beads in the main color, which is the thinnest size you can make. Also a bit difficult to work with, but if you put a skewer or other kind of stick in the tube while stringing, you will have a better grip. If you want to make a tube with a larger ‘threading hole’, string a few extra beads, but make sure that you always keep an even number.
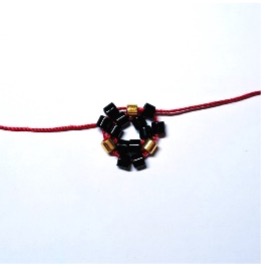
1. String the red beads onto your thread and close the beads into a circle by threading through the beads again + 1 bead further (this makes the circle more stable).
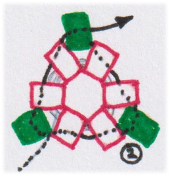
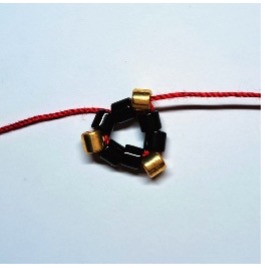
2. Take 1 green bead and thread through 2 red beads. Pick up another green bead and continue threading through 2 red beads. Continue like this until you have ‘interrupted’ every 2 beads in the main color red with 1 bead of the supporting color (in this case green). Then continue threading through the next 2 red beads + the first green bead of your circle.
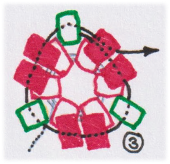
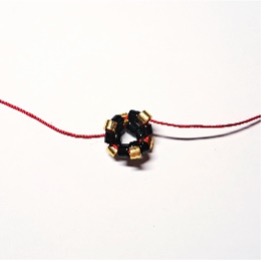
3. So now your needle has come out of a green bead: now take 2 red beads and thread through the next green bead. So that your red beads are hanging like a ‘washingline’ between the green beads. Thread 2 red beads between the green beads until you are round again. Insert the needle through the next red bead.
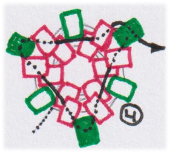
4. Your needle has now come out of a red bead. We do the same as in step 2: take 1 green bead and thread through 2 red beads. Take another green bead and thread through 2 red beads. Continue like this until you have ‘divided’ every 2 beads in the main color red by 1 bead in the supporting color green. Then continue threading through the next 2 red beads + the first green bead of your circle.
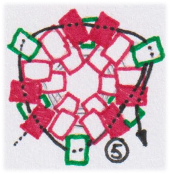
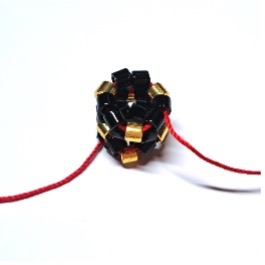
5. Repeat step 3: thread 2 beads in the main color between the single beads in the support color. And so you repeat these steps until you have a bead tube in the desired length!
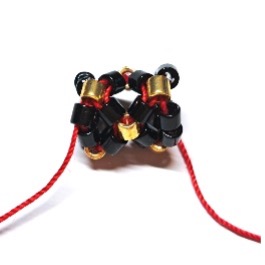
A few pictures of the beading process:


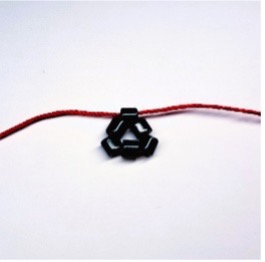
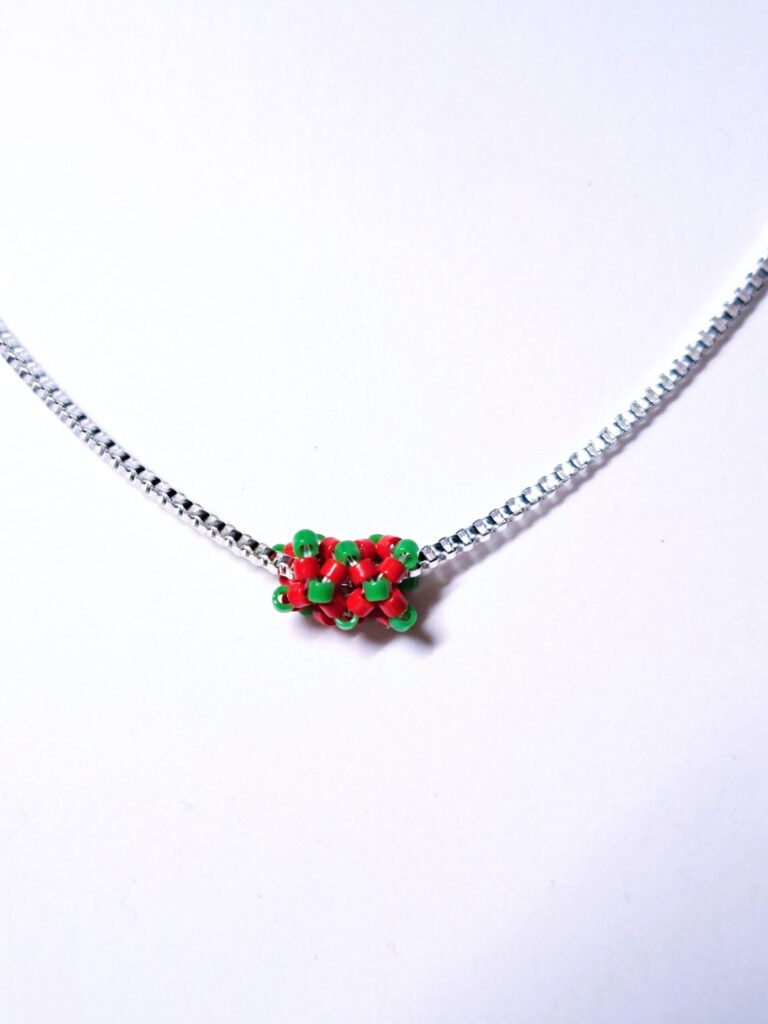
String the tube onto a thicker cord or chain or thread it directly around a round earring! For this earring it is best done with 15/0 seed beads.

Have fun making your own chenille-tube!
Very clear steps thank you 😊